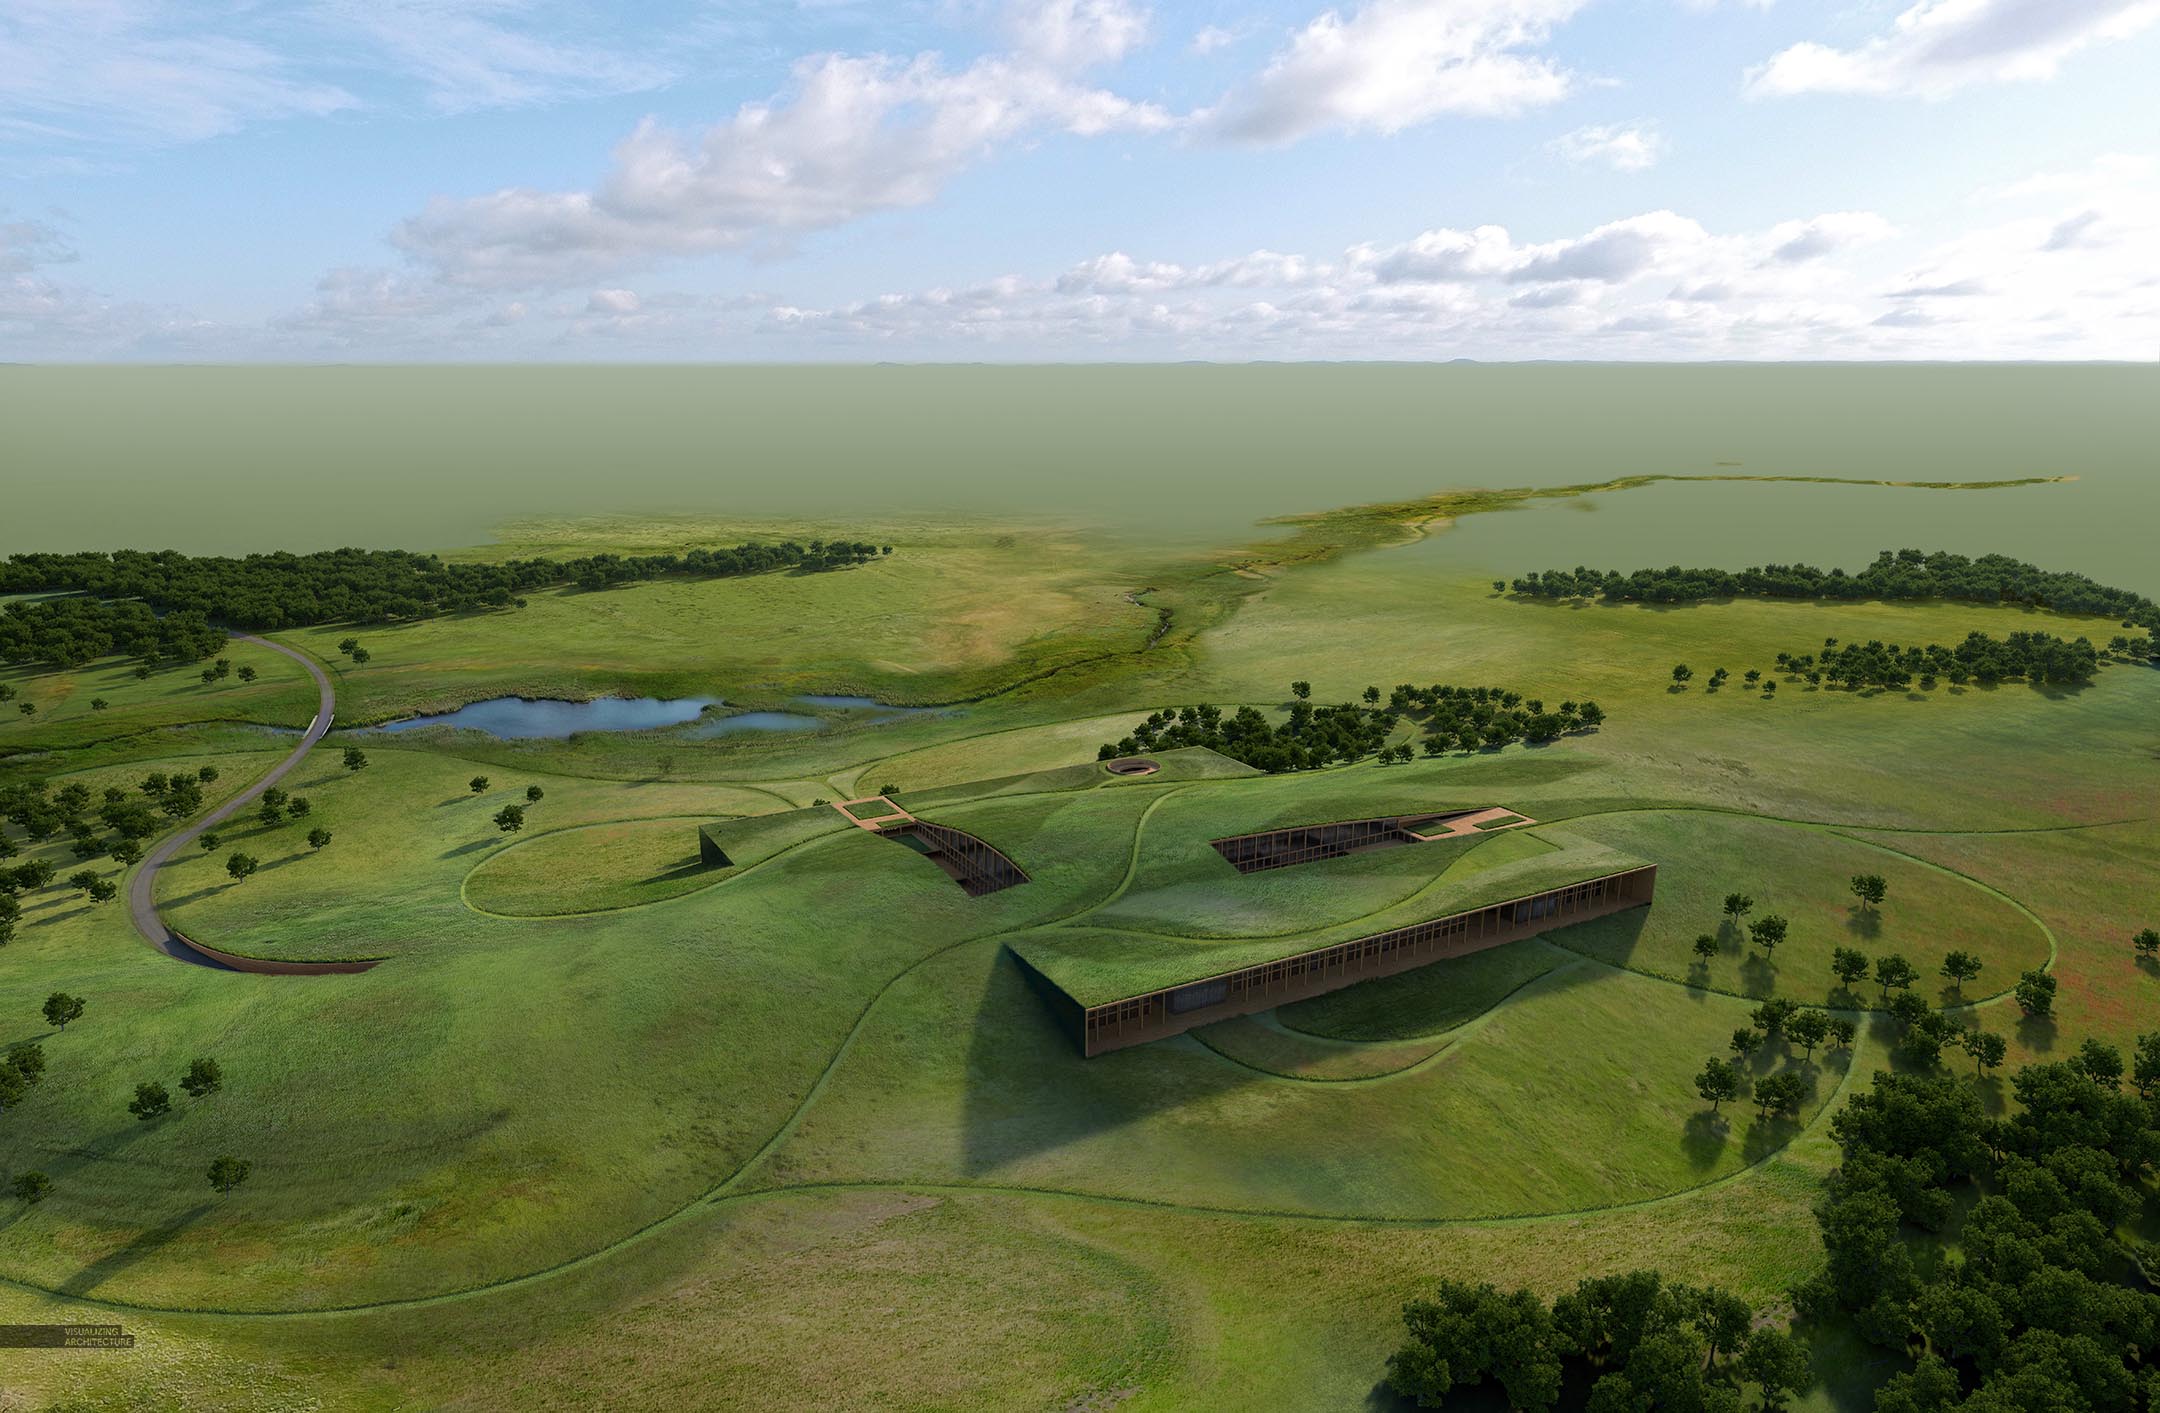
This latest aerial image was probably my biggest undertaking up to this point in terms of difficulty of photoshop. I struggeled to get started on the image because I know how complex it was going to be to stitch together all of the grass textures and landscape. Because the view was so zoomed out, yet I was working at a high resolution, it meant that I was going to have to build a large library of aerial textures and then piece them into the different areas of the image at a high resolution while not letting the image start to feel disconnected or collagy. Even setting the view on this one was a challenge because I was making many of the decisions based on what I knew it would like like and not what was actaully in the model.
In the breakdown below, I spent some time describing some important tips in stitching lots of grass textures together specifically for aerial images. Things can get very overwhelming and messy quickly if you don’t stay organized or start to rush things. Normally for images created on this website, I create them in a few days. However, with this one, I worked on it over several weekends and many weekday nights. Part of it was that I needed to step away and then come back to the image the next day with a fresh pair of eyes. I am not sure I will be doing another aerial for a while.
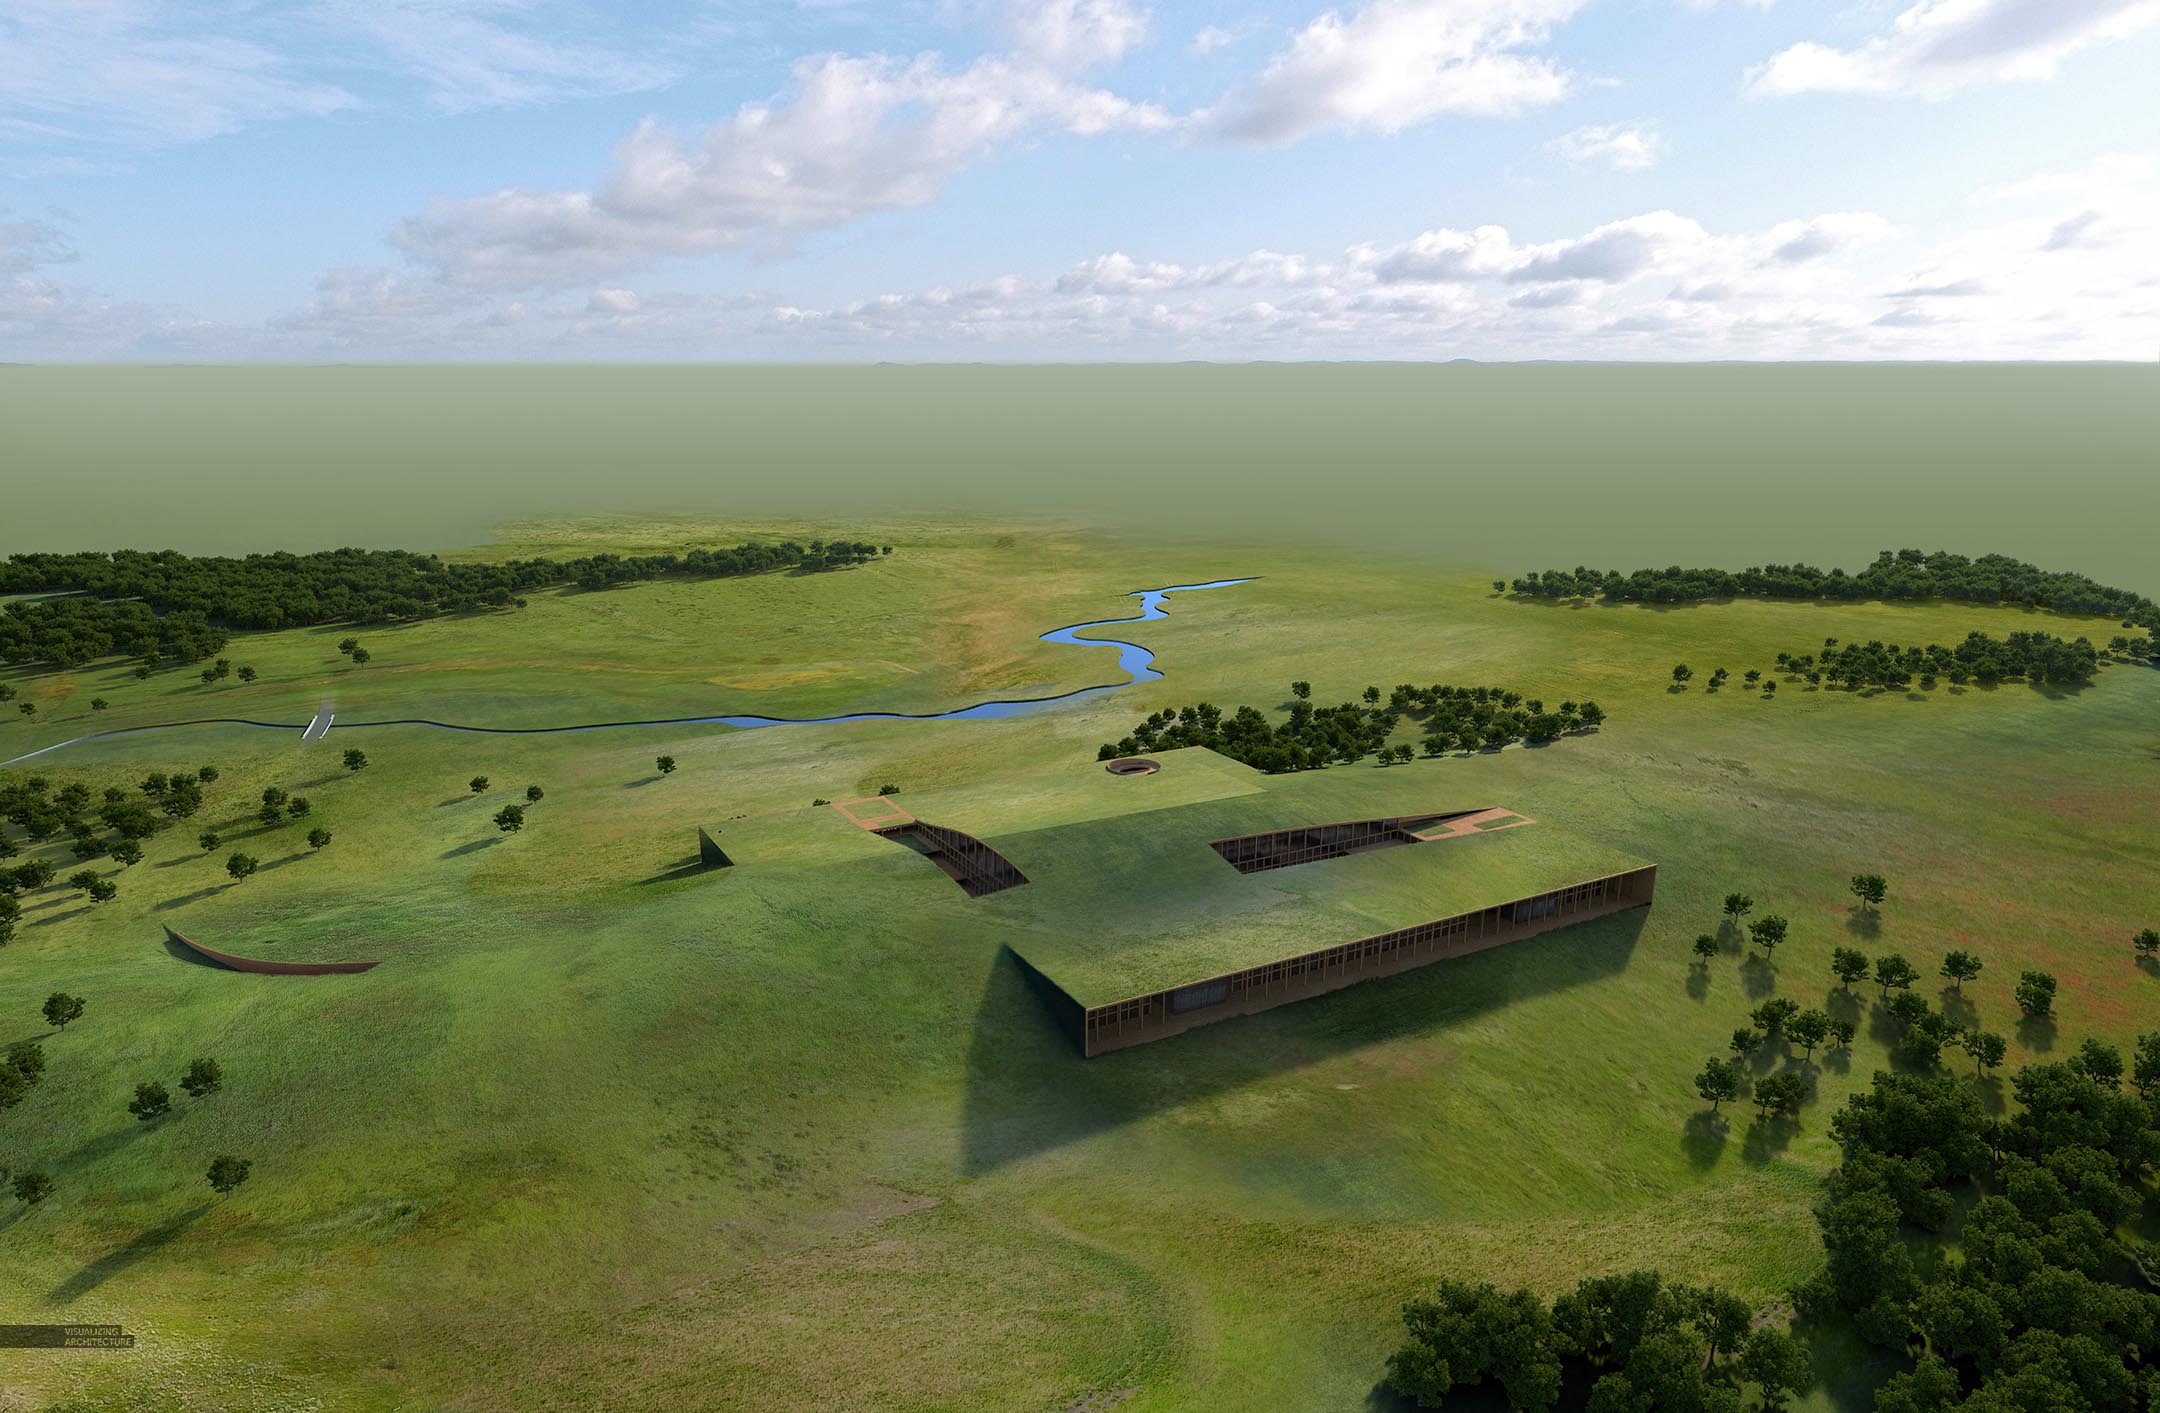
1. Base Rendering
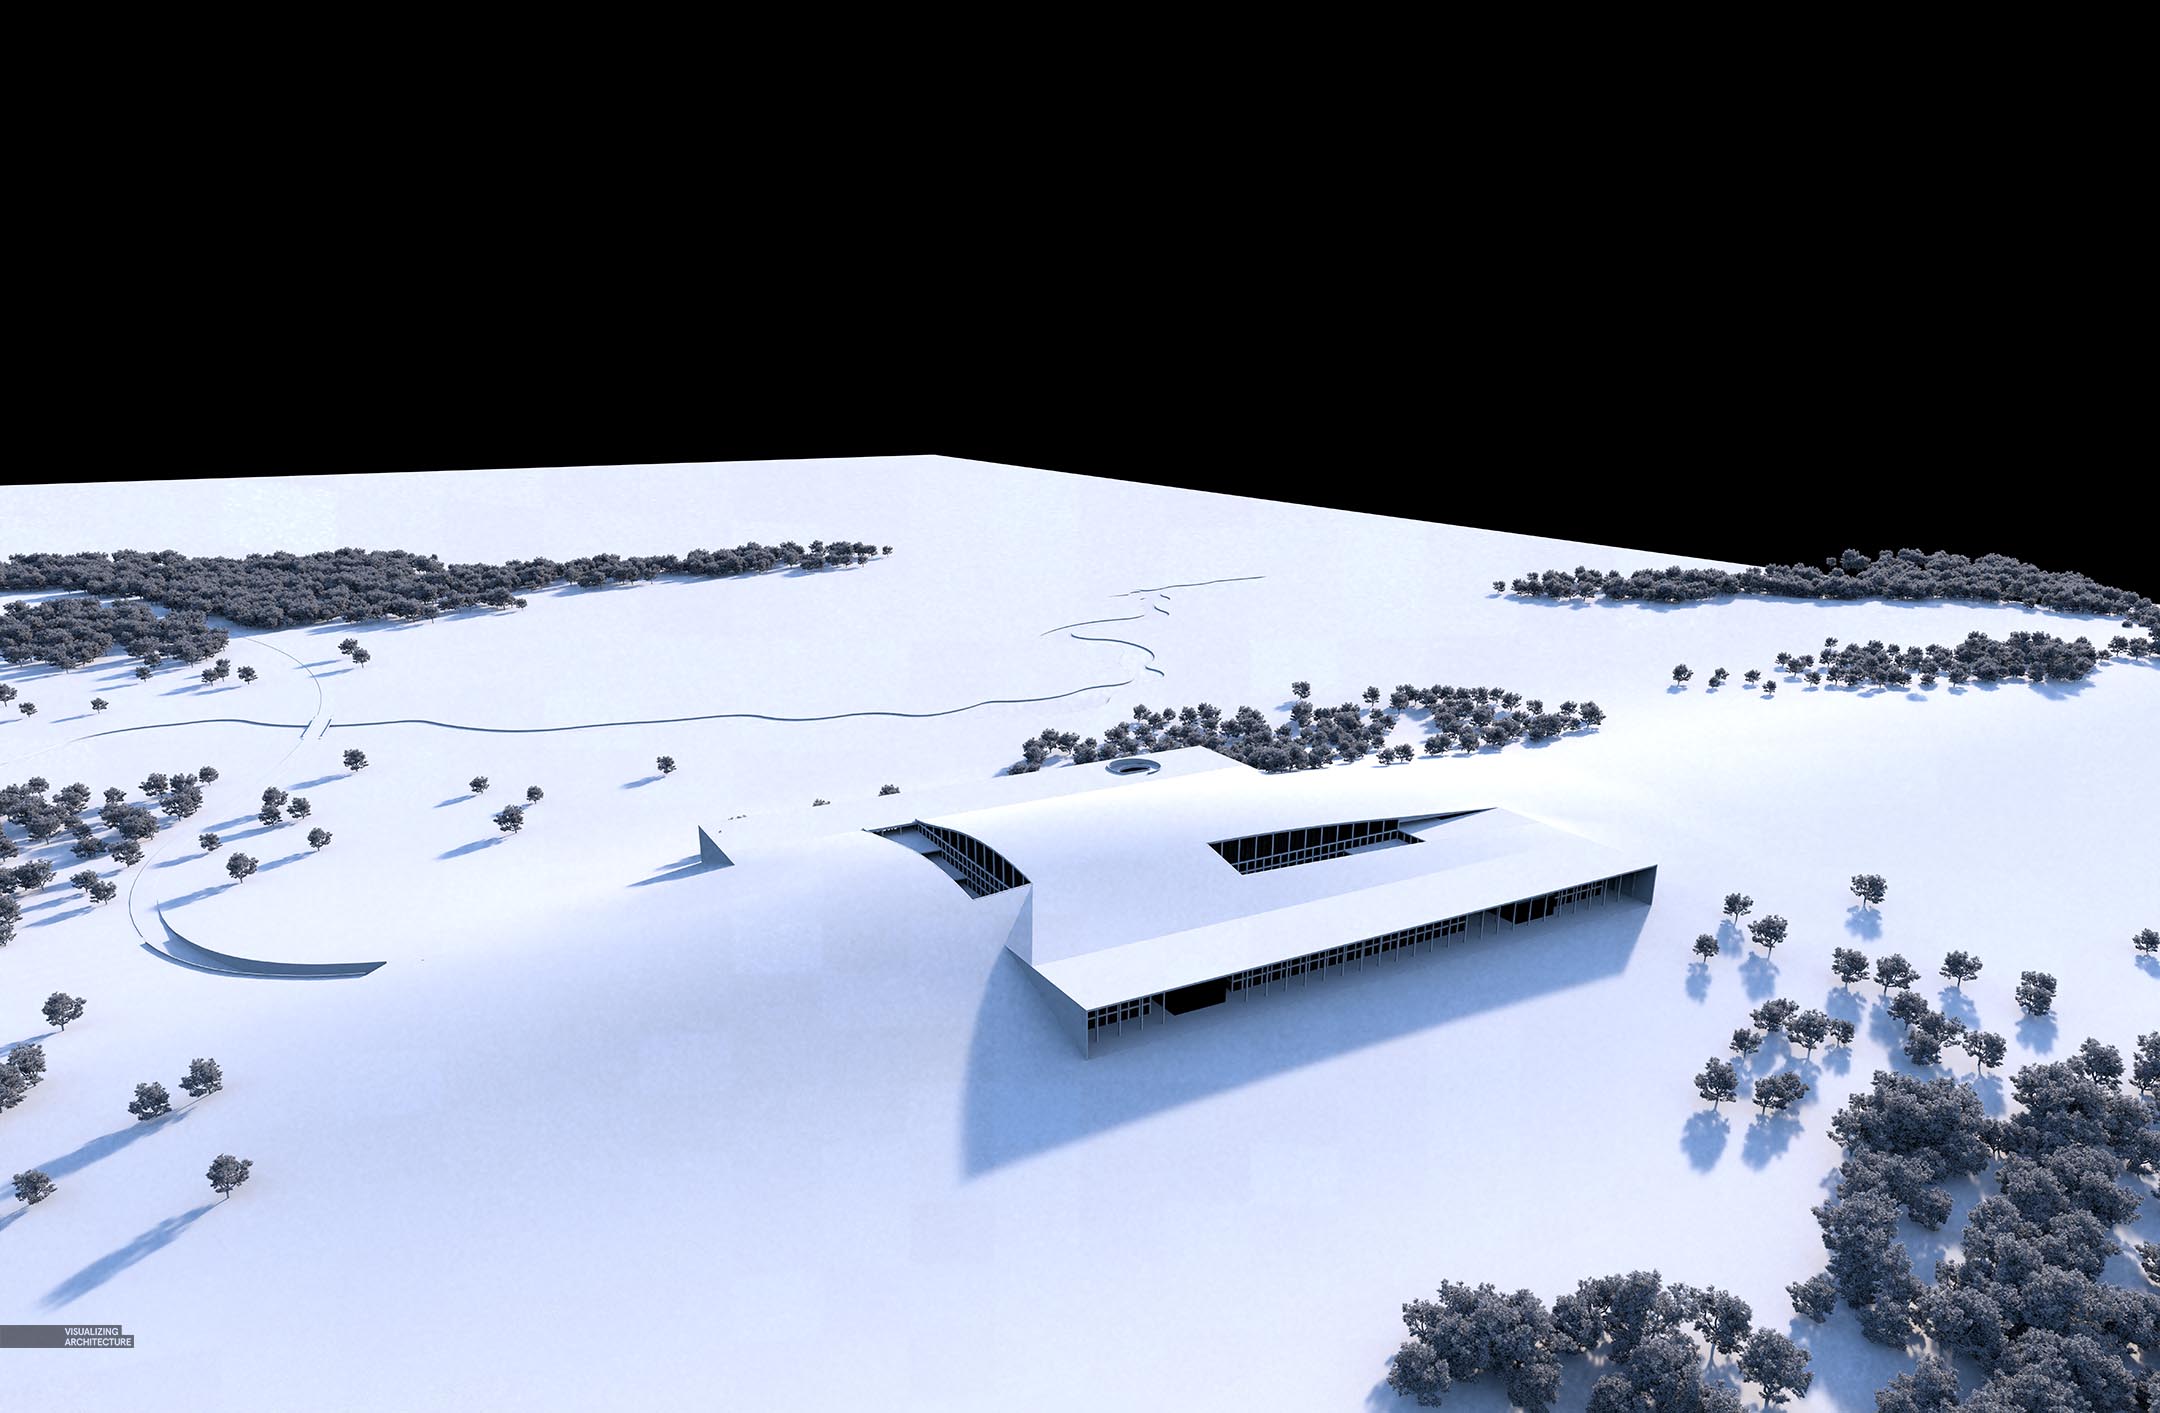
The first they you may notice is that I went with 3d trees which is something I don’t do often. The reality was that there were too many trees to Photoshop in and the angle was awkward enough that a couple off areas would have been too difficult to manage in 2D. So, I used 3D trees to get a good base going but then added some Photoshop trees later in aerials that I wanted to have more control and flexibility with.
2. Mapping Grass Textures
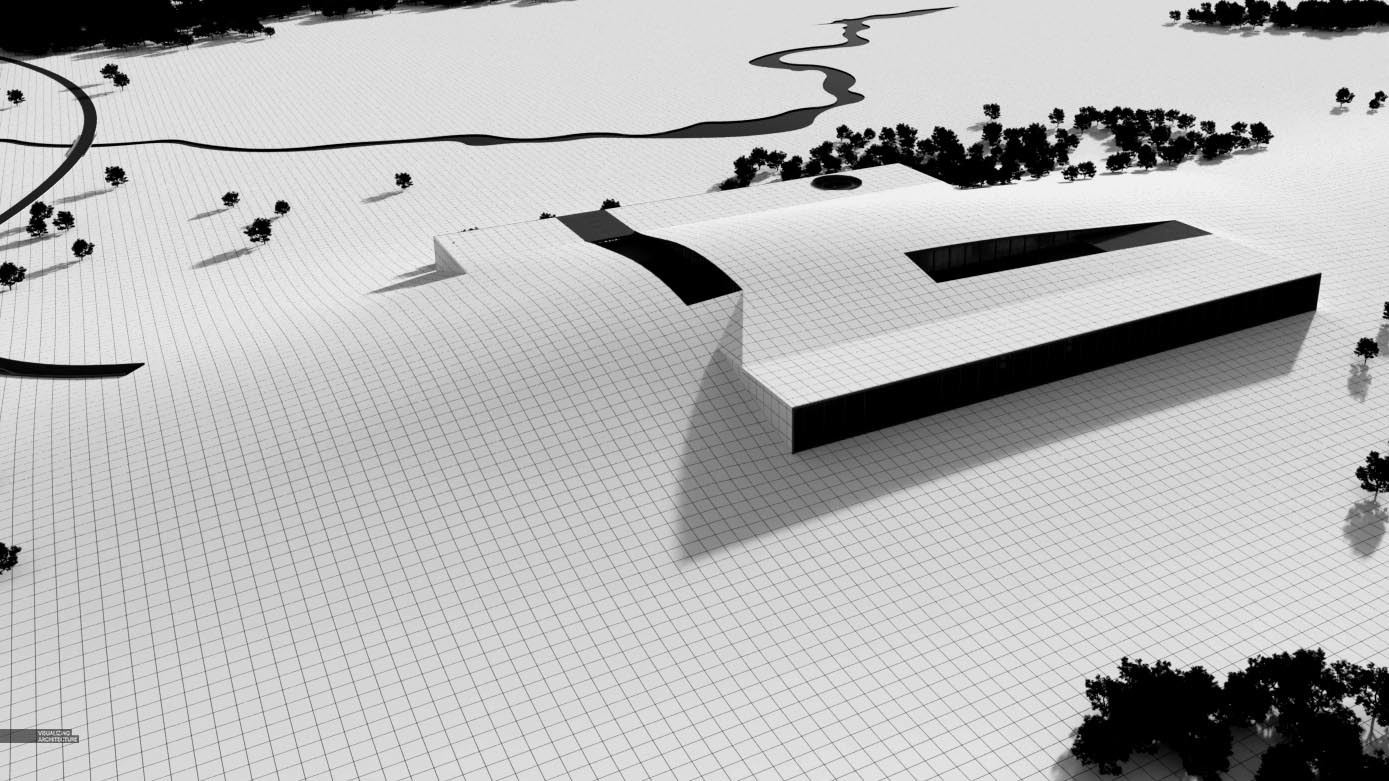
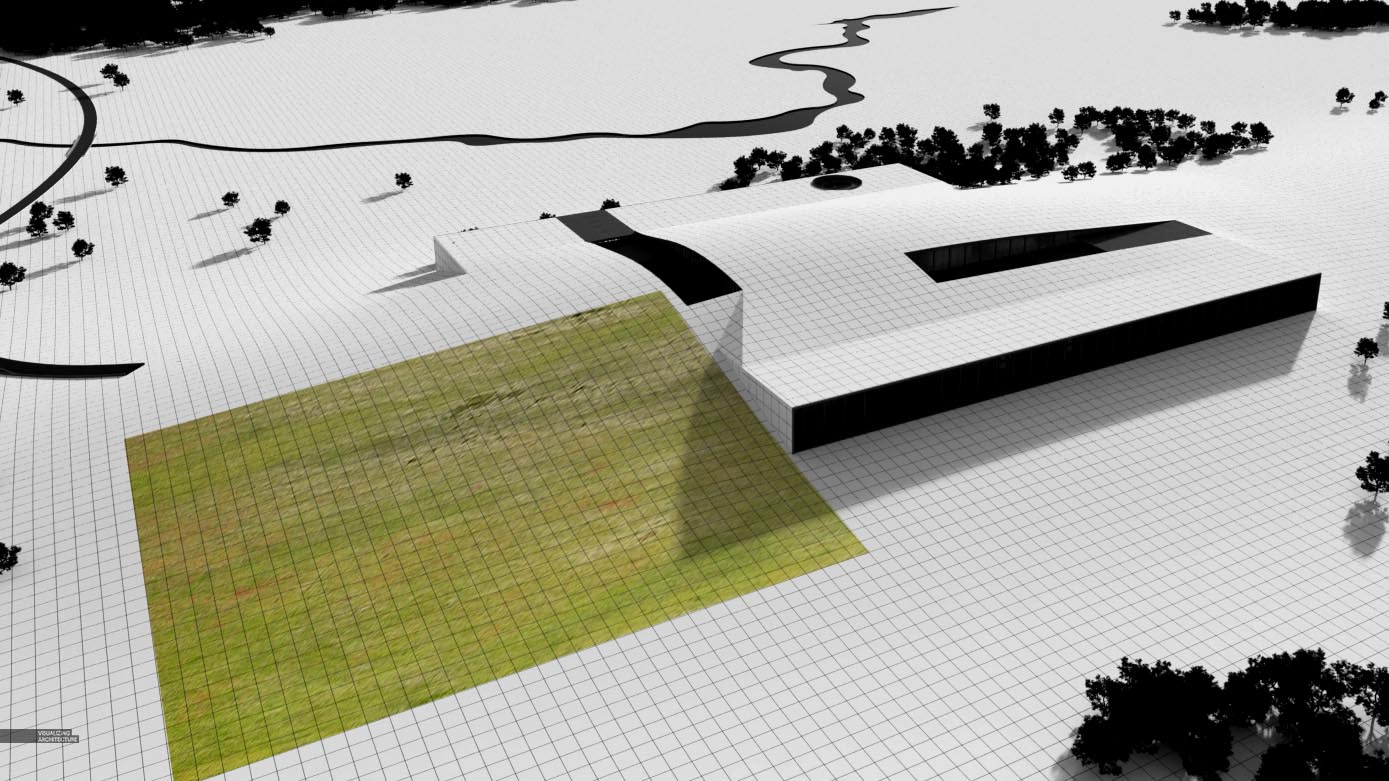
Something a lot of people overlook when adding in ground textures is they often fail to match the perspective of the texture to the perspective of the Illustration. Something that helps me match perspectives especially when dealing with topographic landscapes is to overlay a gridded texture
With grassy textures, it can sometimes be difficult to ready the perspective, but there are usually enough cues to make a solid guess. In the texture above I drew a square mapping the chunk of the texture that I am cutting out doing my best to estimate what a 90 degree rectangle would look like overlaid onto the ground.

Once that texture is brought into the Illustration, it is pretty clear that the perspective of the texture does not match the perspective of the illustration. However, this would be much more difficult to visualize with the grid turned off and and the full texture image just dragged into the illustration without taking the times to estimate what the perspective is.
To get the texture perspective to match the illustration perspective, I use “Edit>Transform>Distort” in Photoshop. With all of this said the above texture is just an example and I am usually not this literal with lining things up or cutting textures out. Instead, I am just visually trying to explain what I am doing in my head when adding these grass textures.
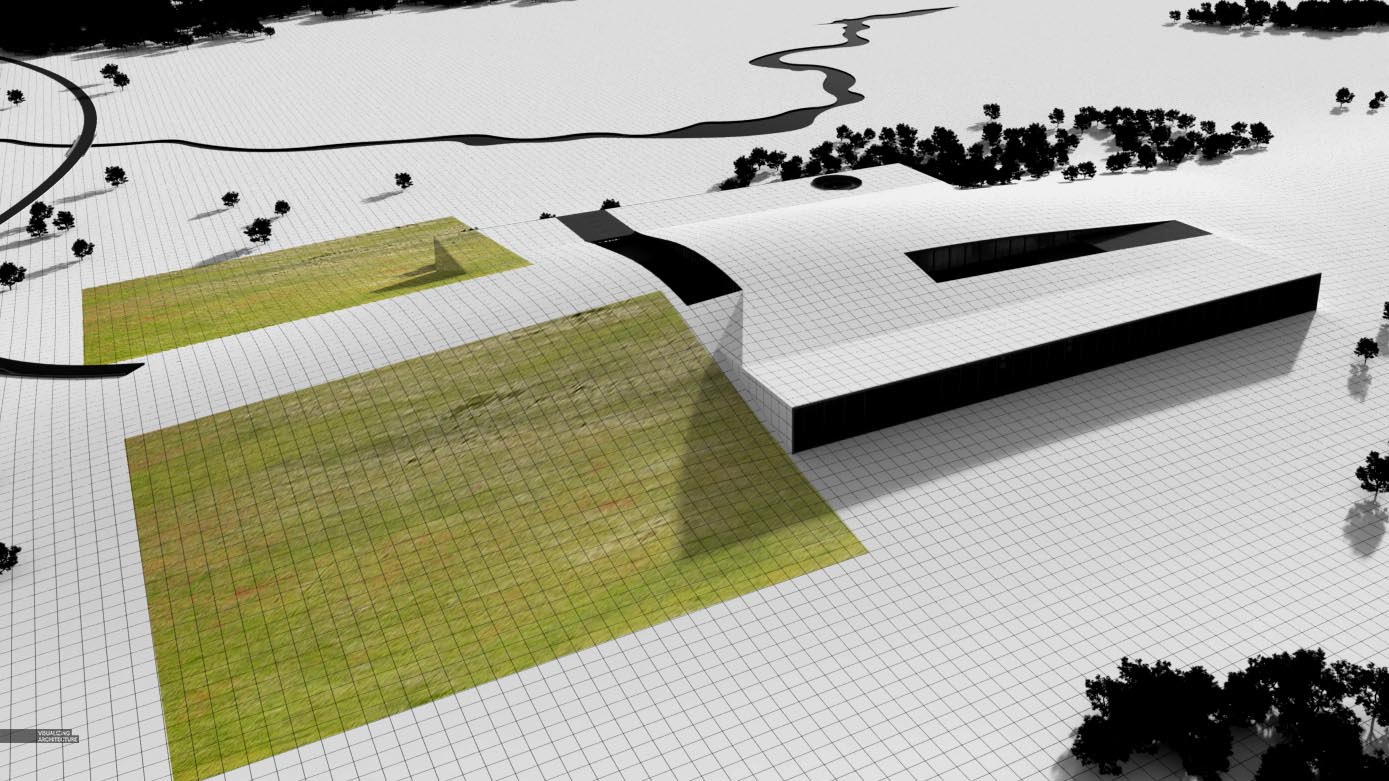
For images with lots of topography, I can’t emphasize enough how important it is to adjust the perspective of the textures to match the illustration. With the second texture that I am showing on the back side of the hill, I flattened it significantly to match how the grid compresses as it goes down the back side of the hill. All of this is subtle, but really helps keep the topography ready clearly when so many textures are being dropped on top.
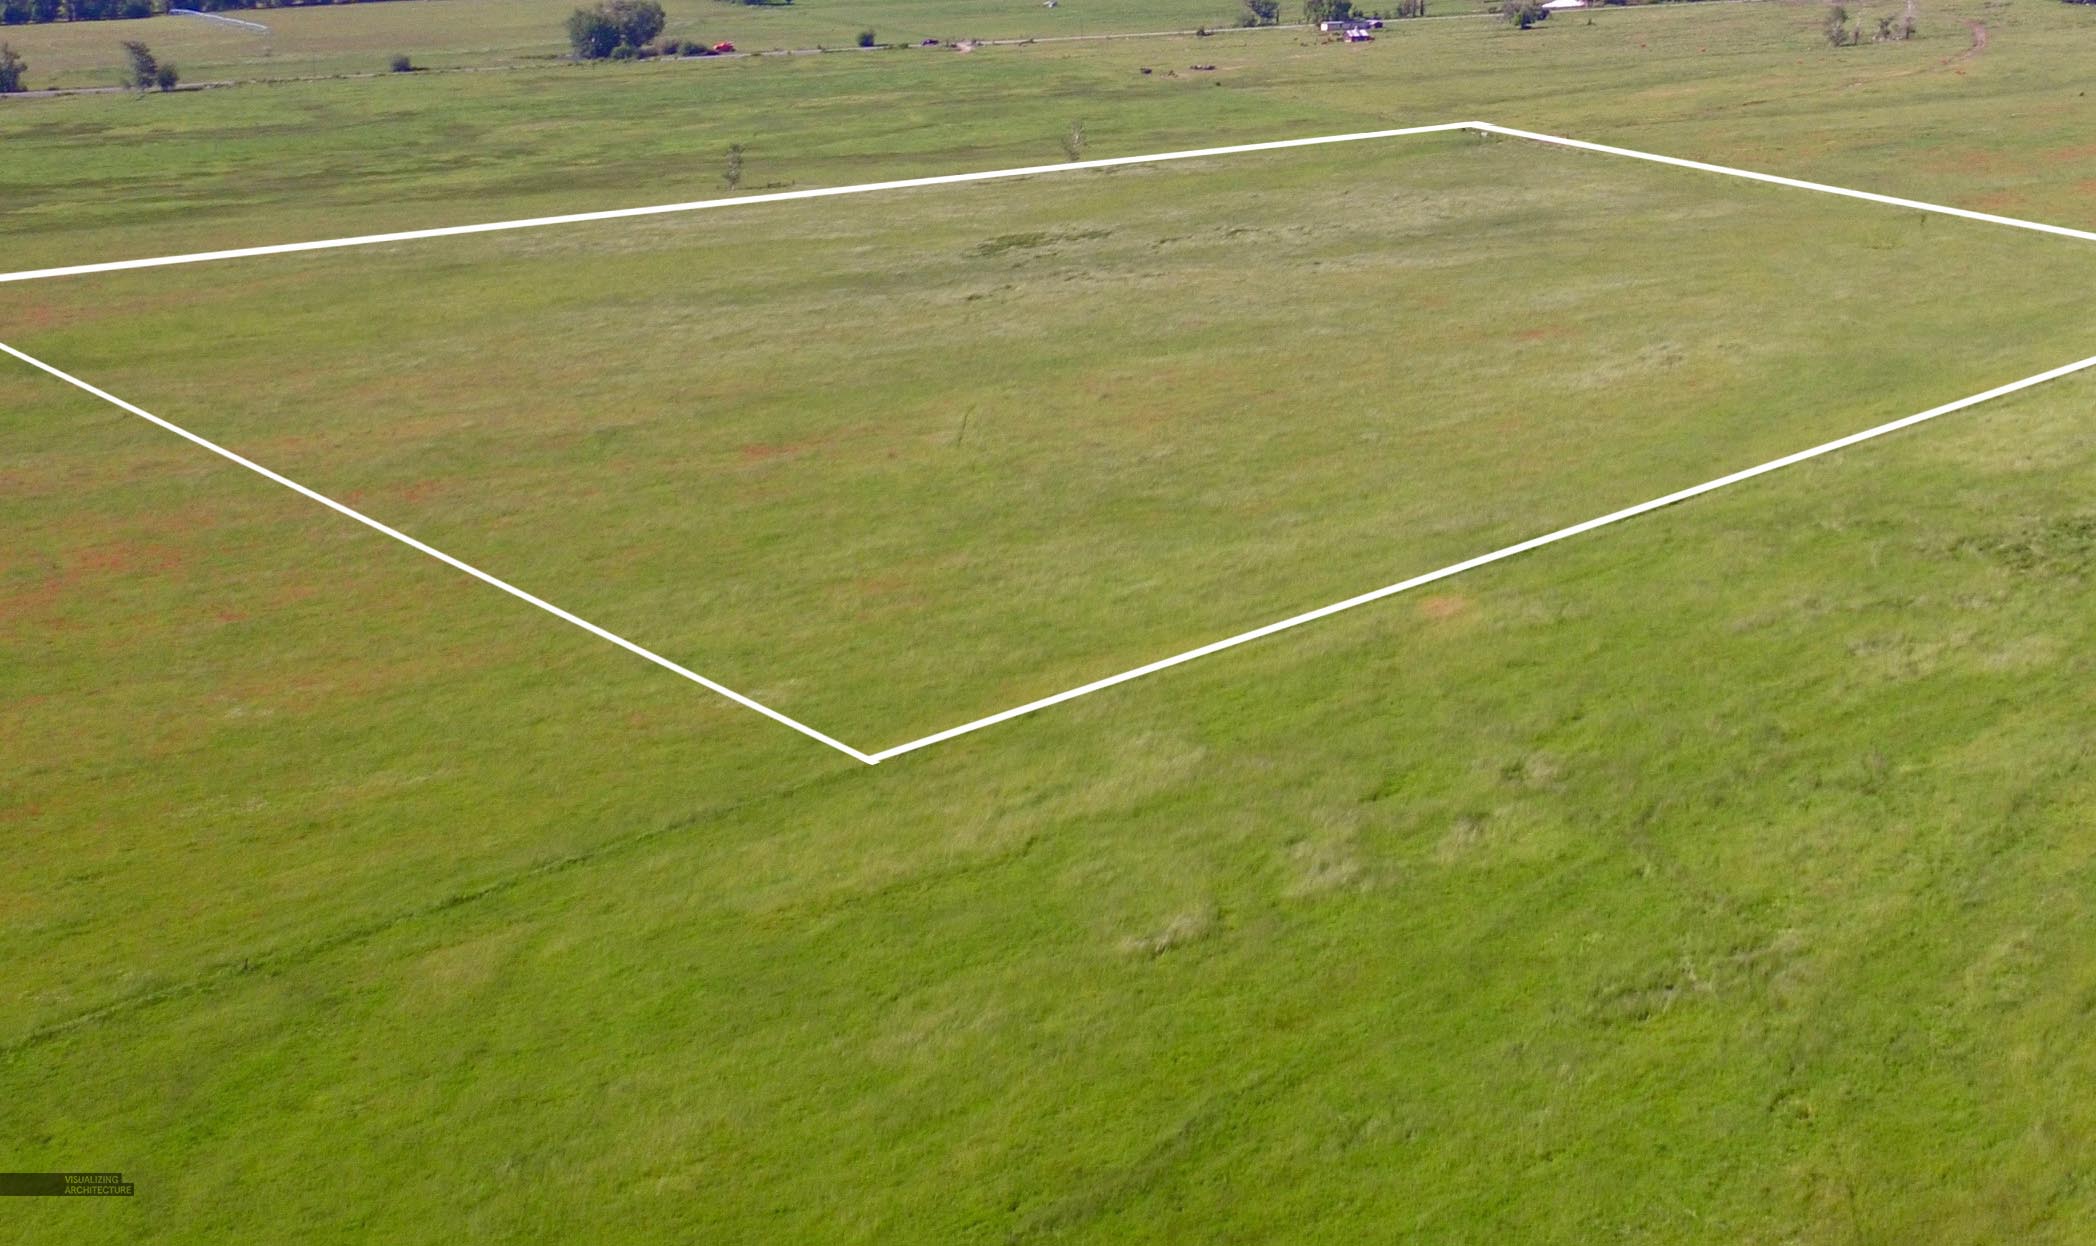
3.Build an Huge Library of Textures
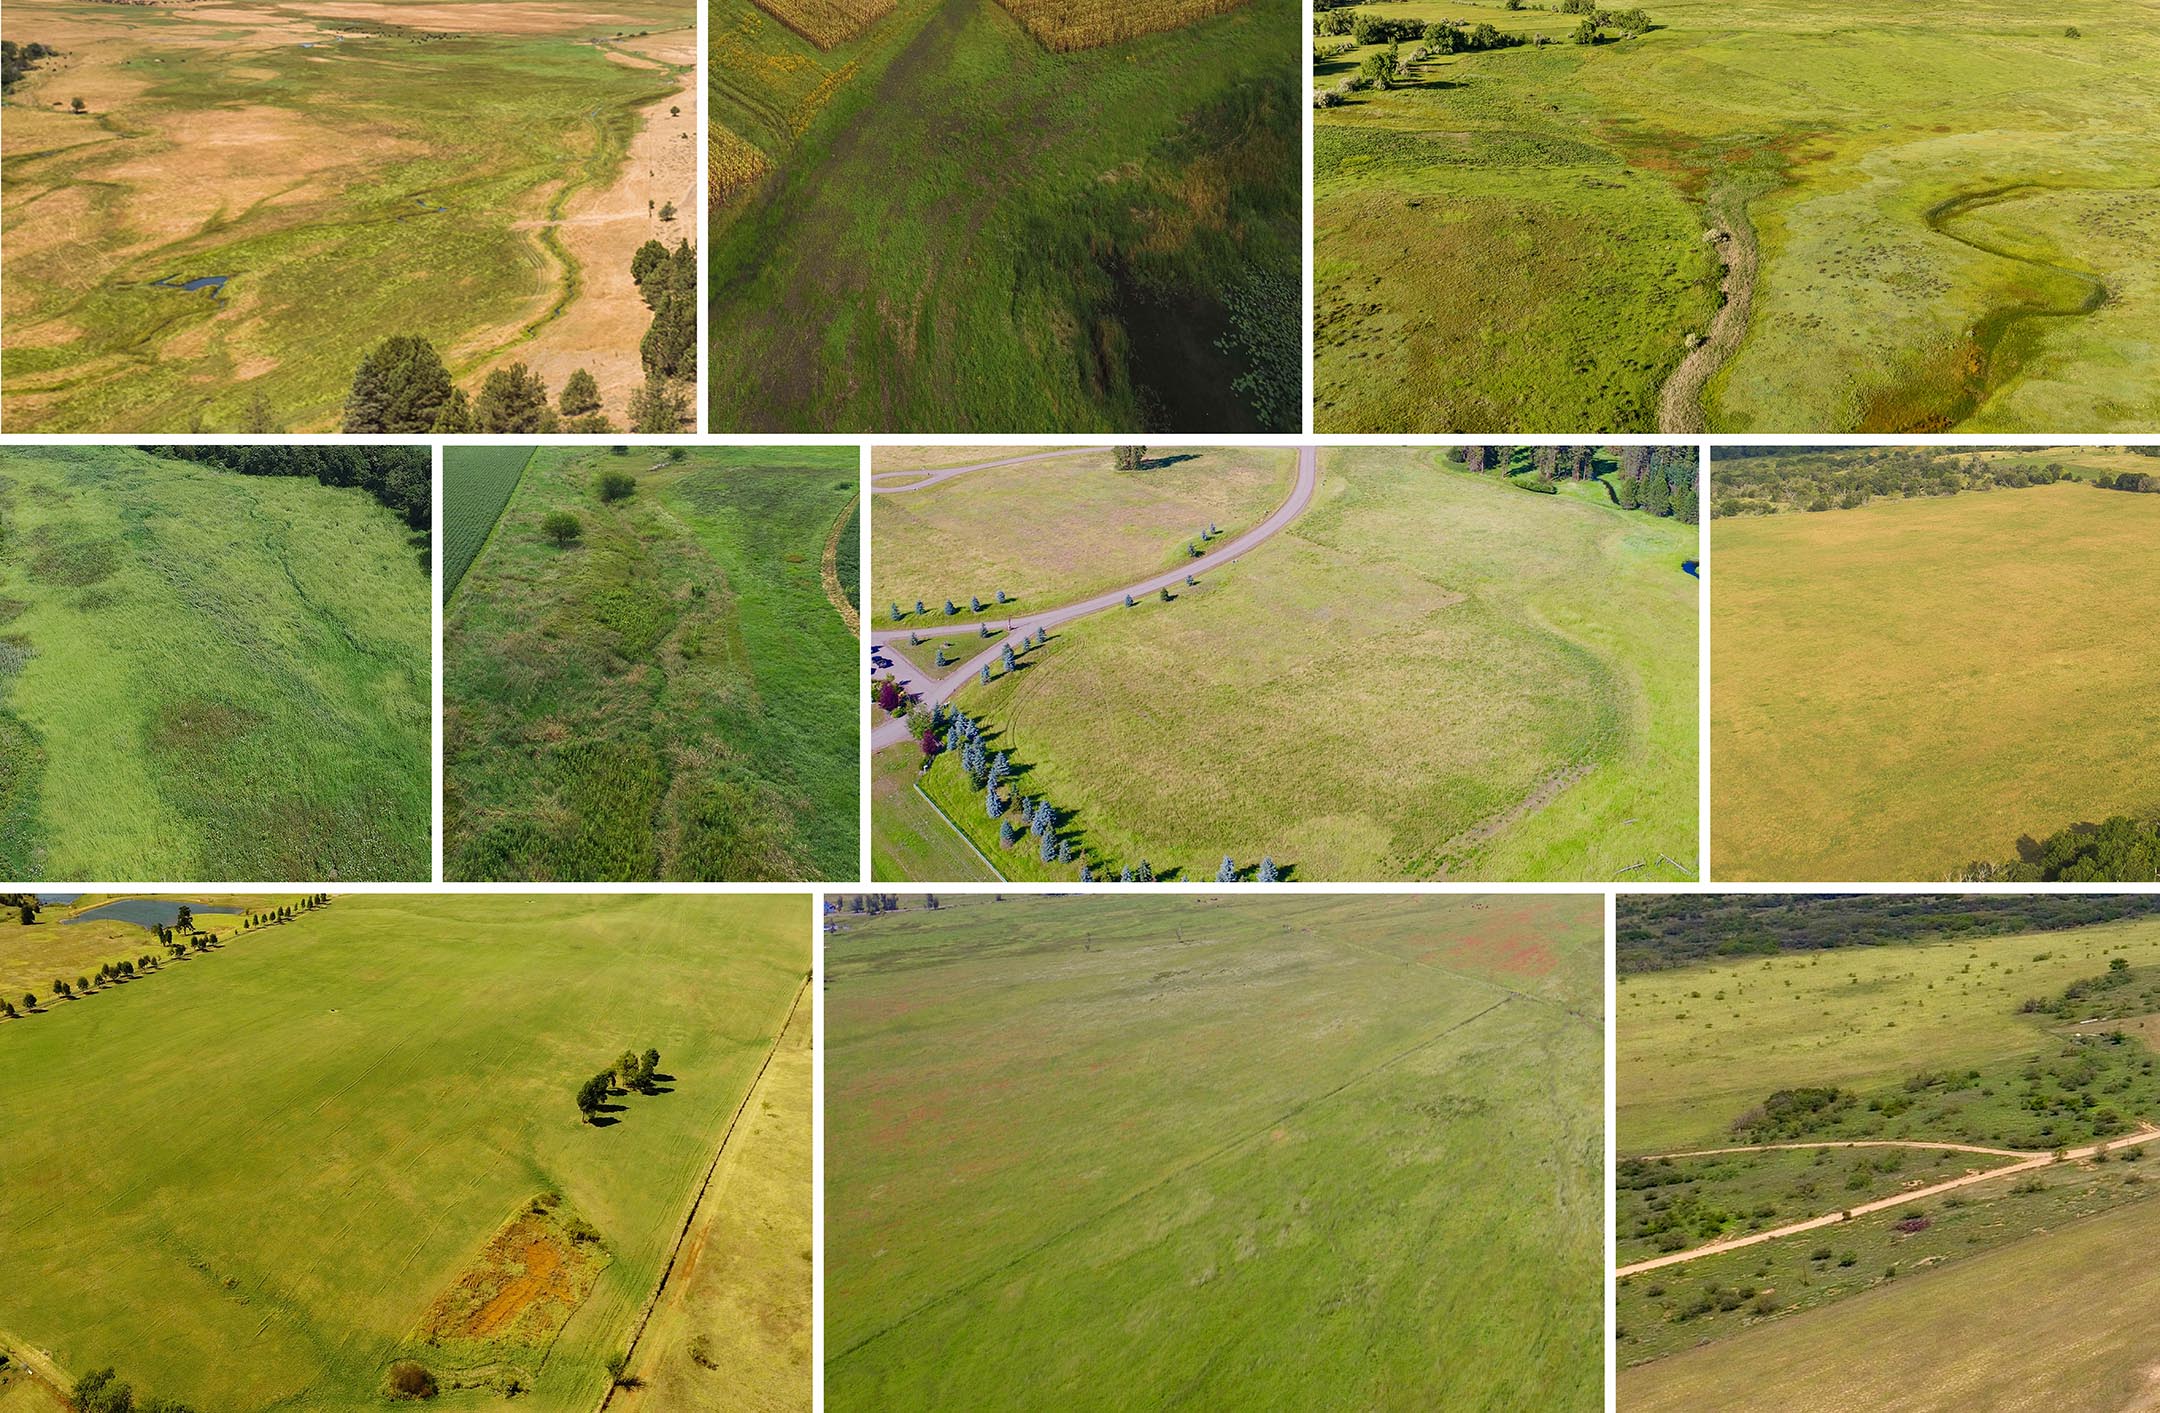
I already have a large library of textures, but for this image, I needed better textures. For grass textures in particular, its hard to find high quality textures of the right kind of grass that looks good from a distance and when zoomed in. I must have spend several hours going to down google search rabbit holes trying to find just the right images. However, starting with good textures makes the Photoshop a lot less painful.
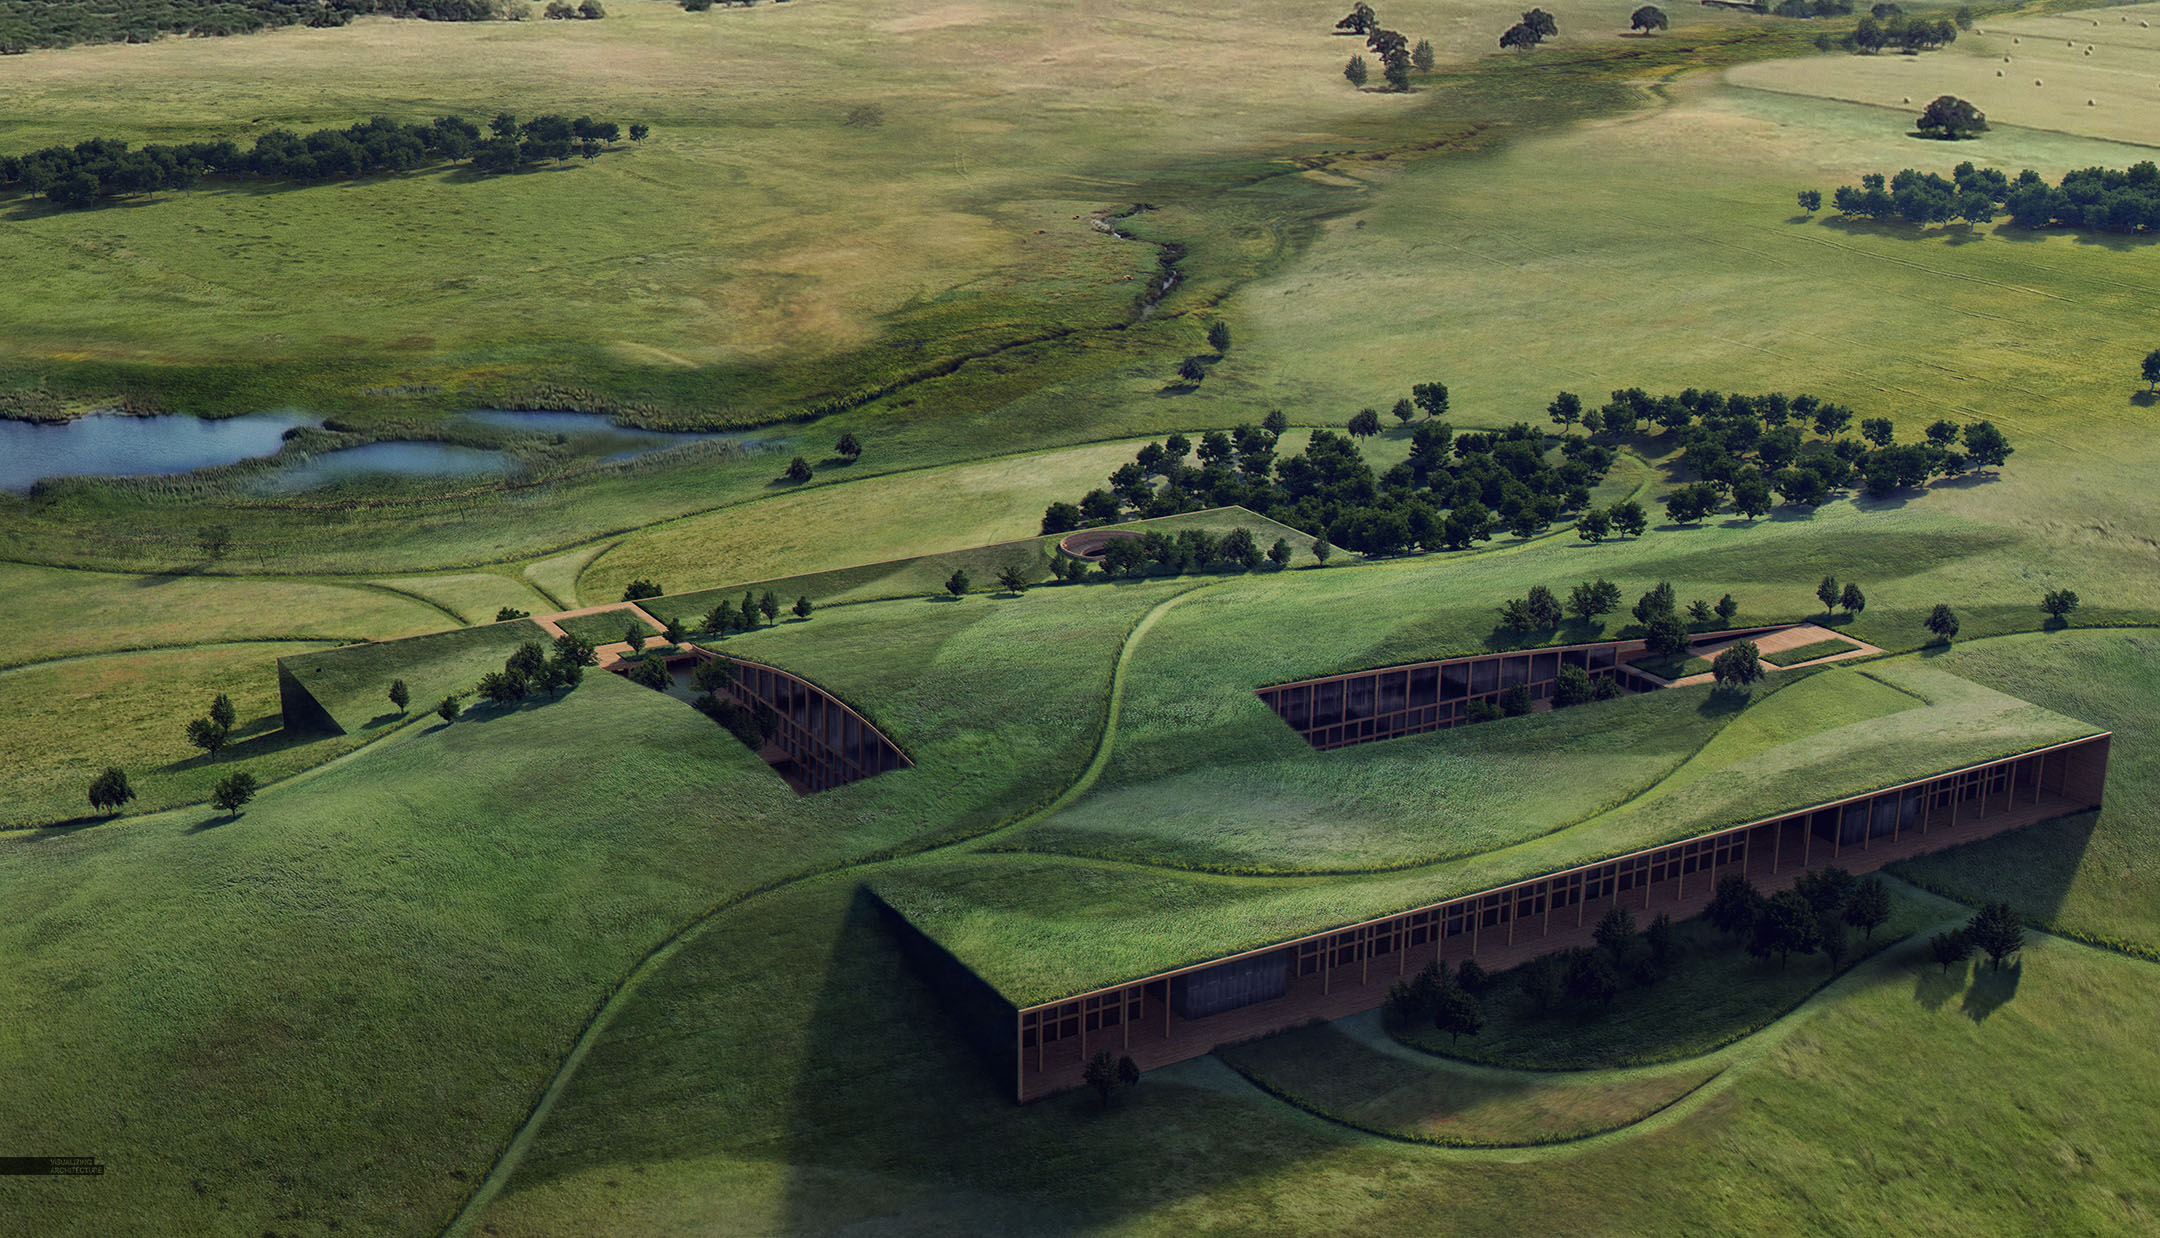
4. Stitching Everything Together

As I mentioned above, this was a lot of work but I prefer to approach this kind of image by slowing layer and building up textures like using watercolor. in many areas of the image, there are probably 3 or 4 layers of textures being seen. This help to blend things together and create complexity while not seeing too much repeating images. At the same time you have to be careful not to let things get muddy. This is easy to do when layering so many images on top of one another and there is no real secret to doing this except just lots of practice and trial and error.
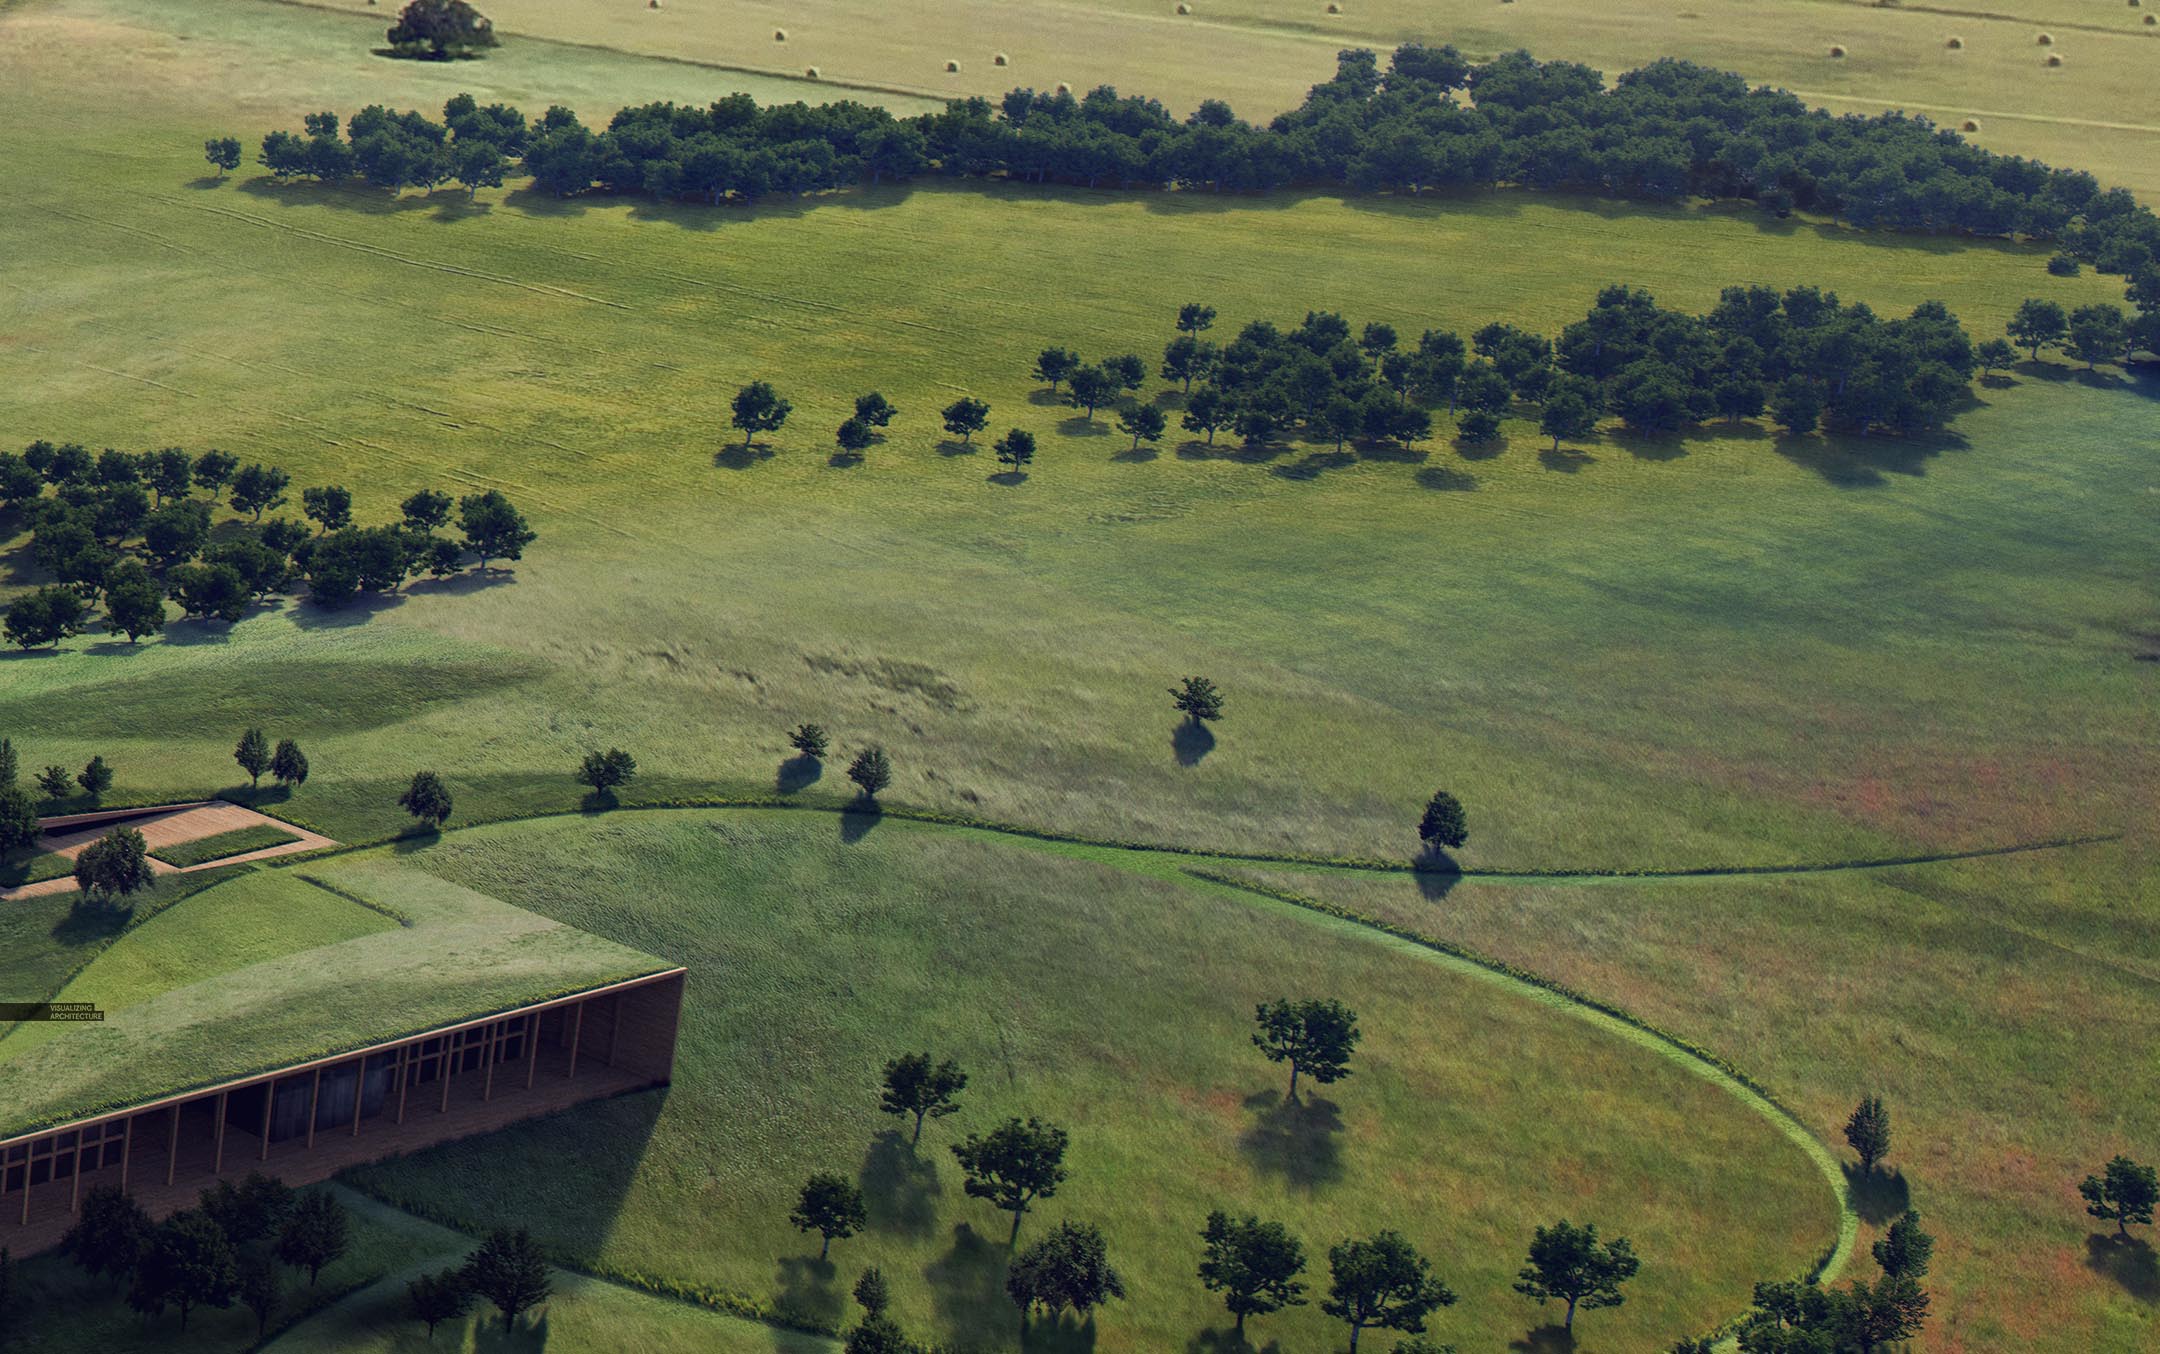
5.Details

Final details included adding in the 2D trees in Photoshop in the tricky areas such as on top of the building and around the sides. I also brought in the background which I was able to find an images that I then reworked so that it related more to the landscape I was creating in the foreground.
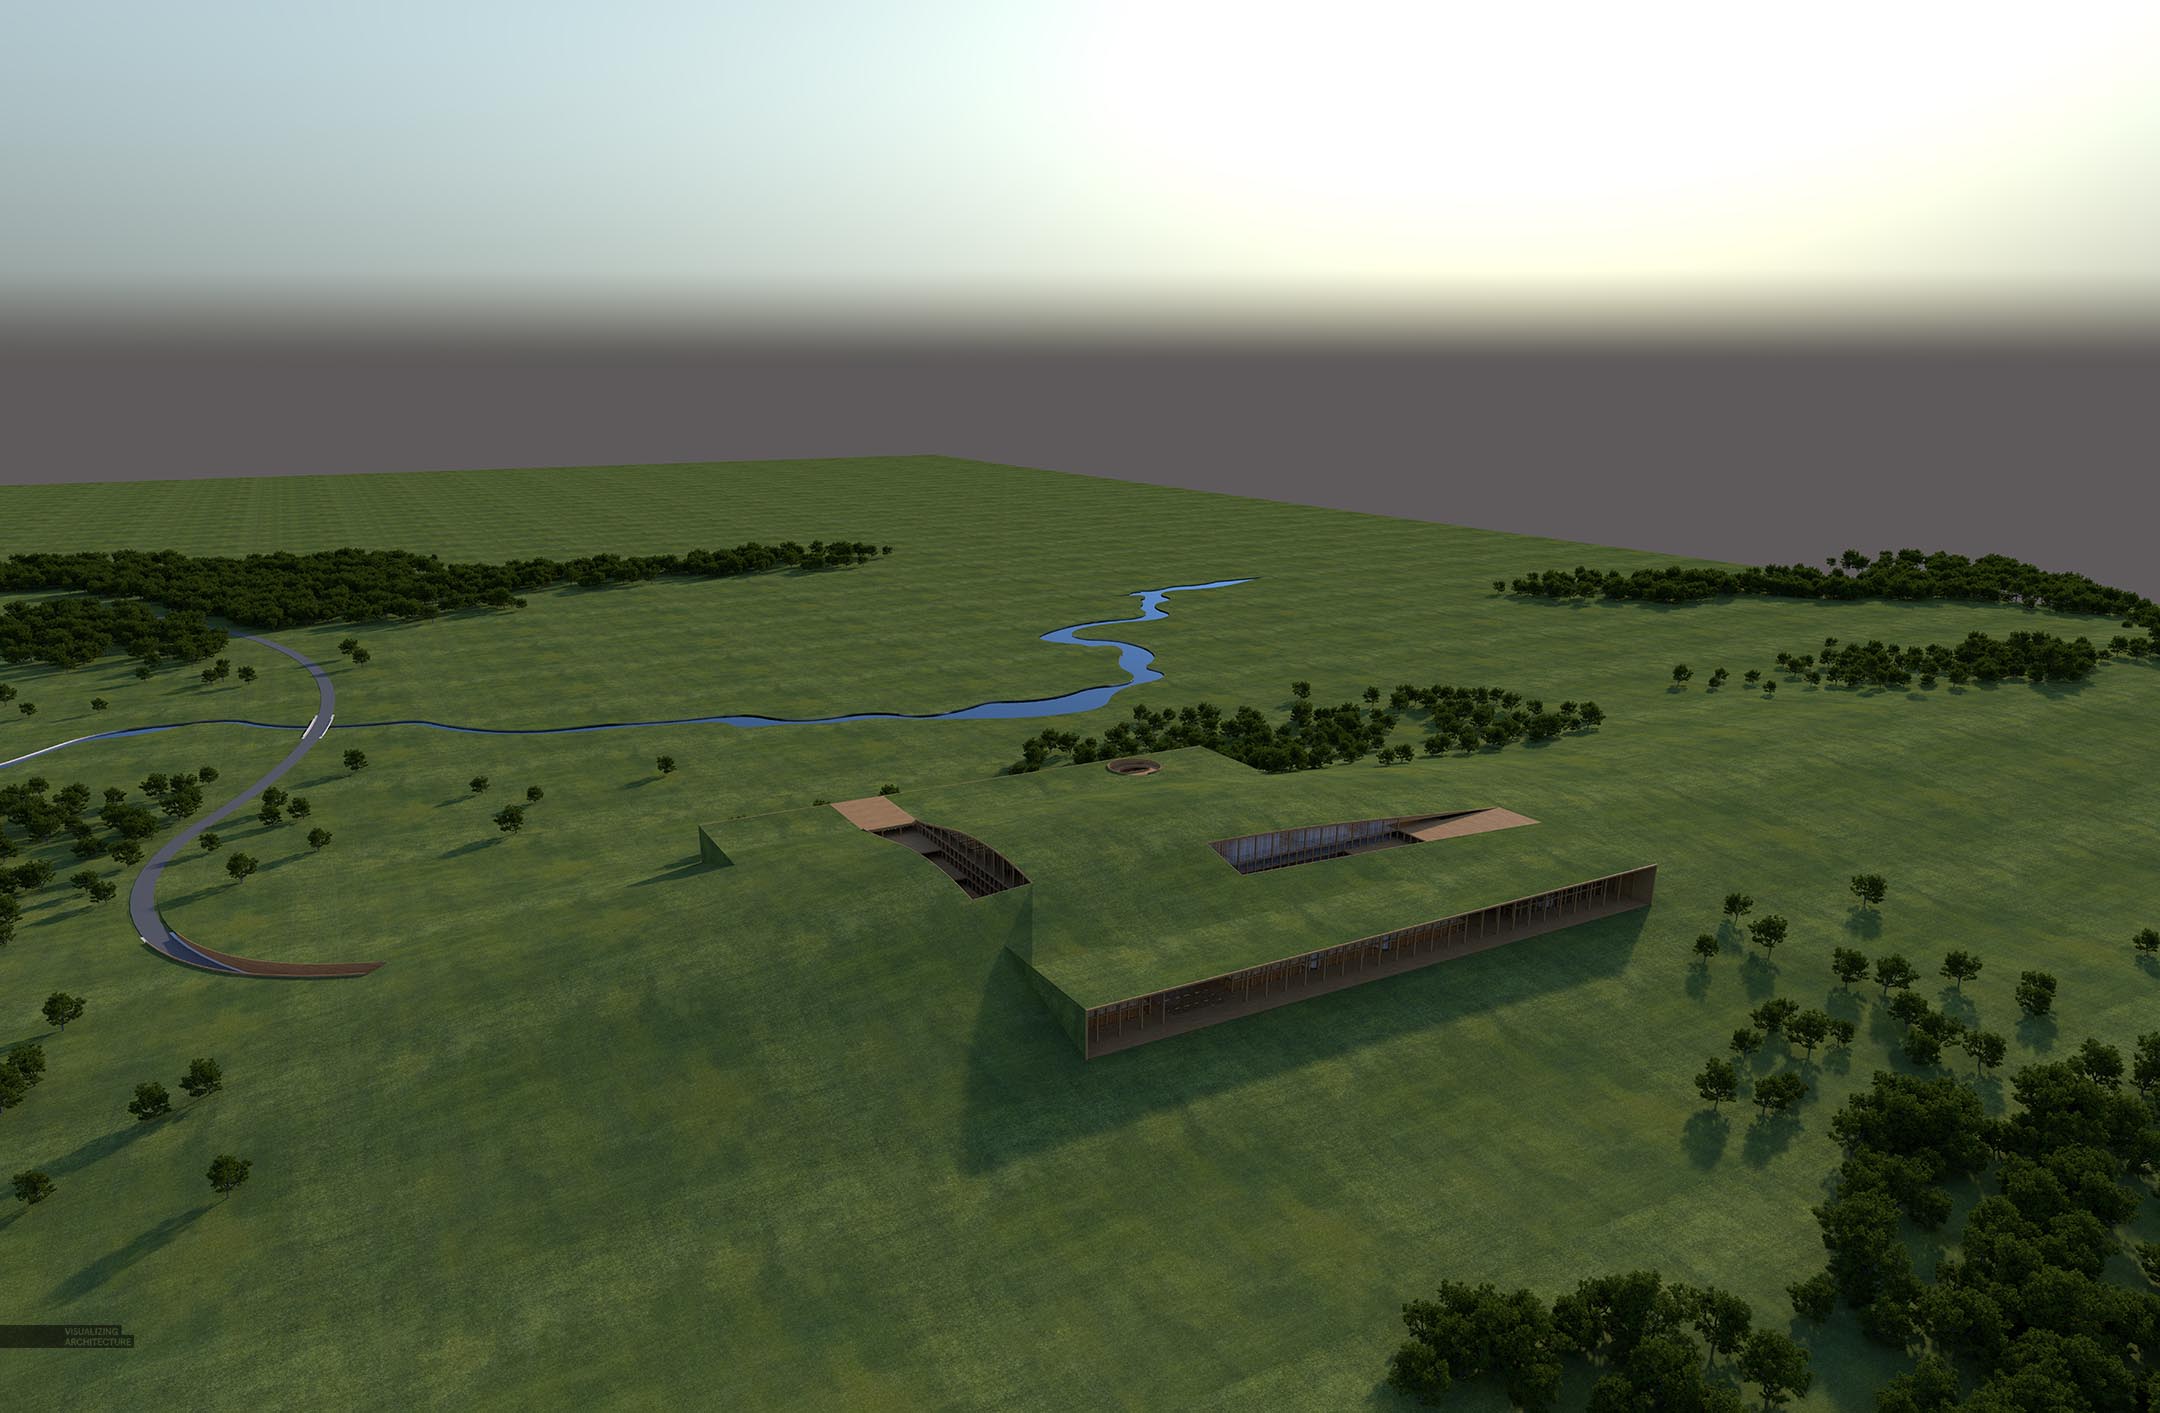
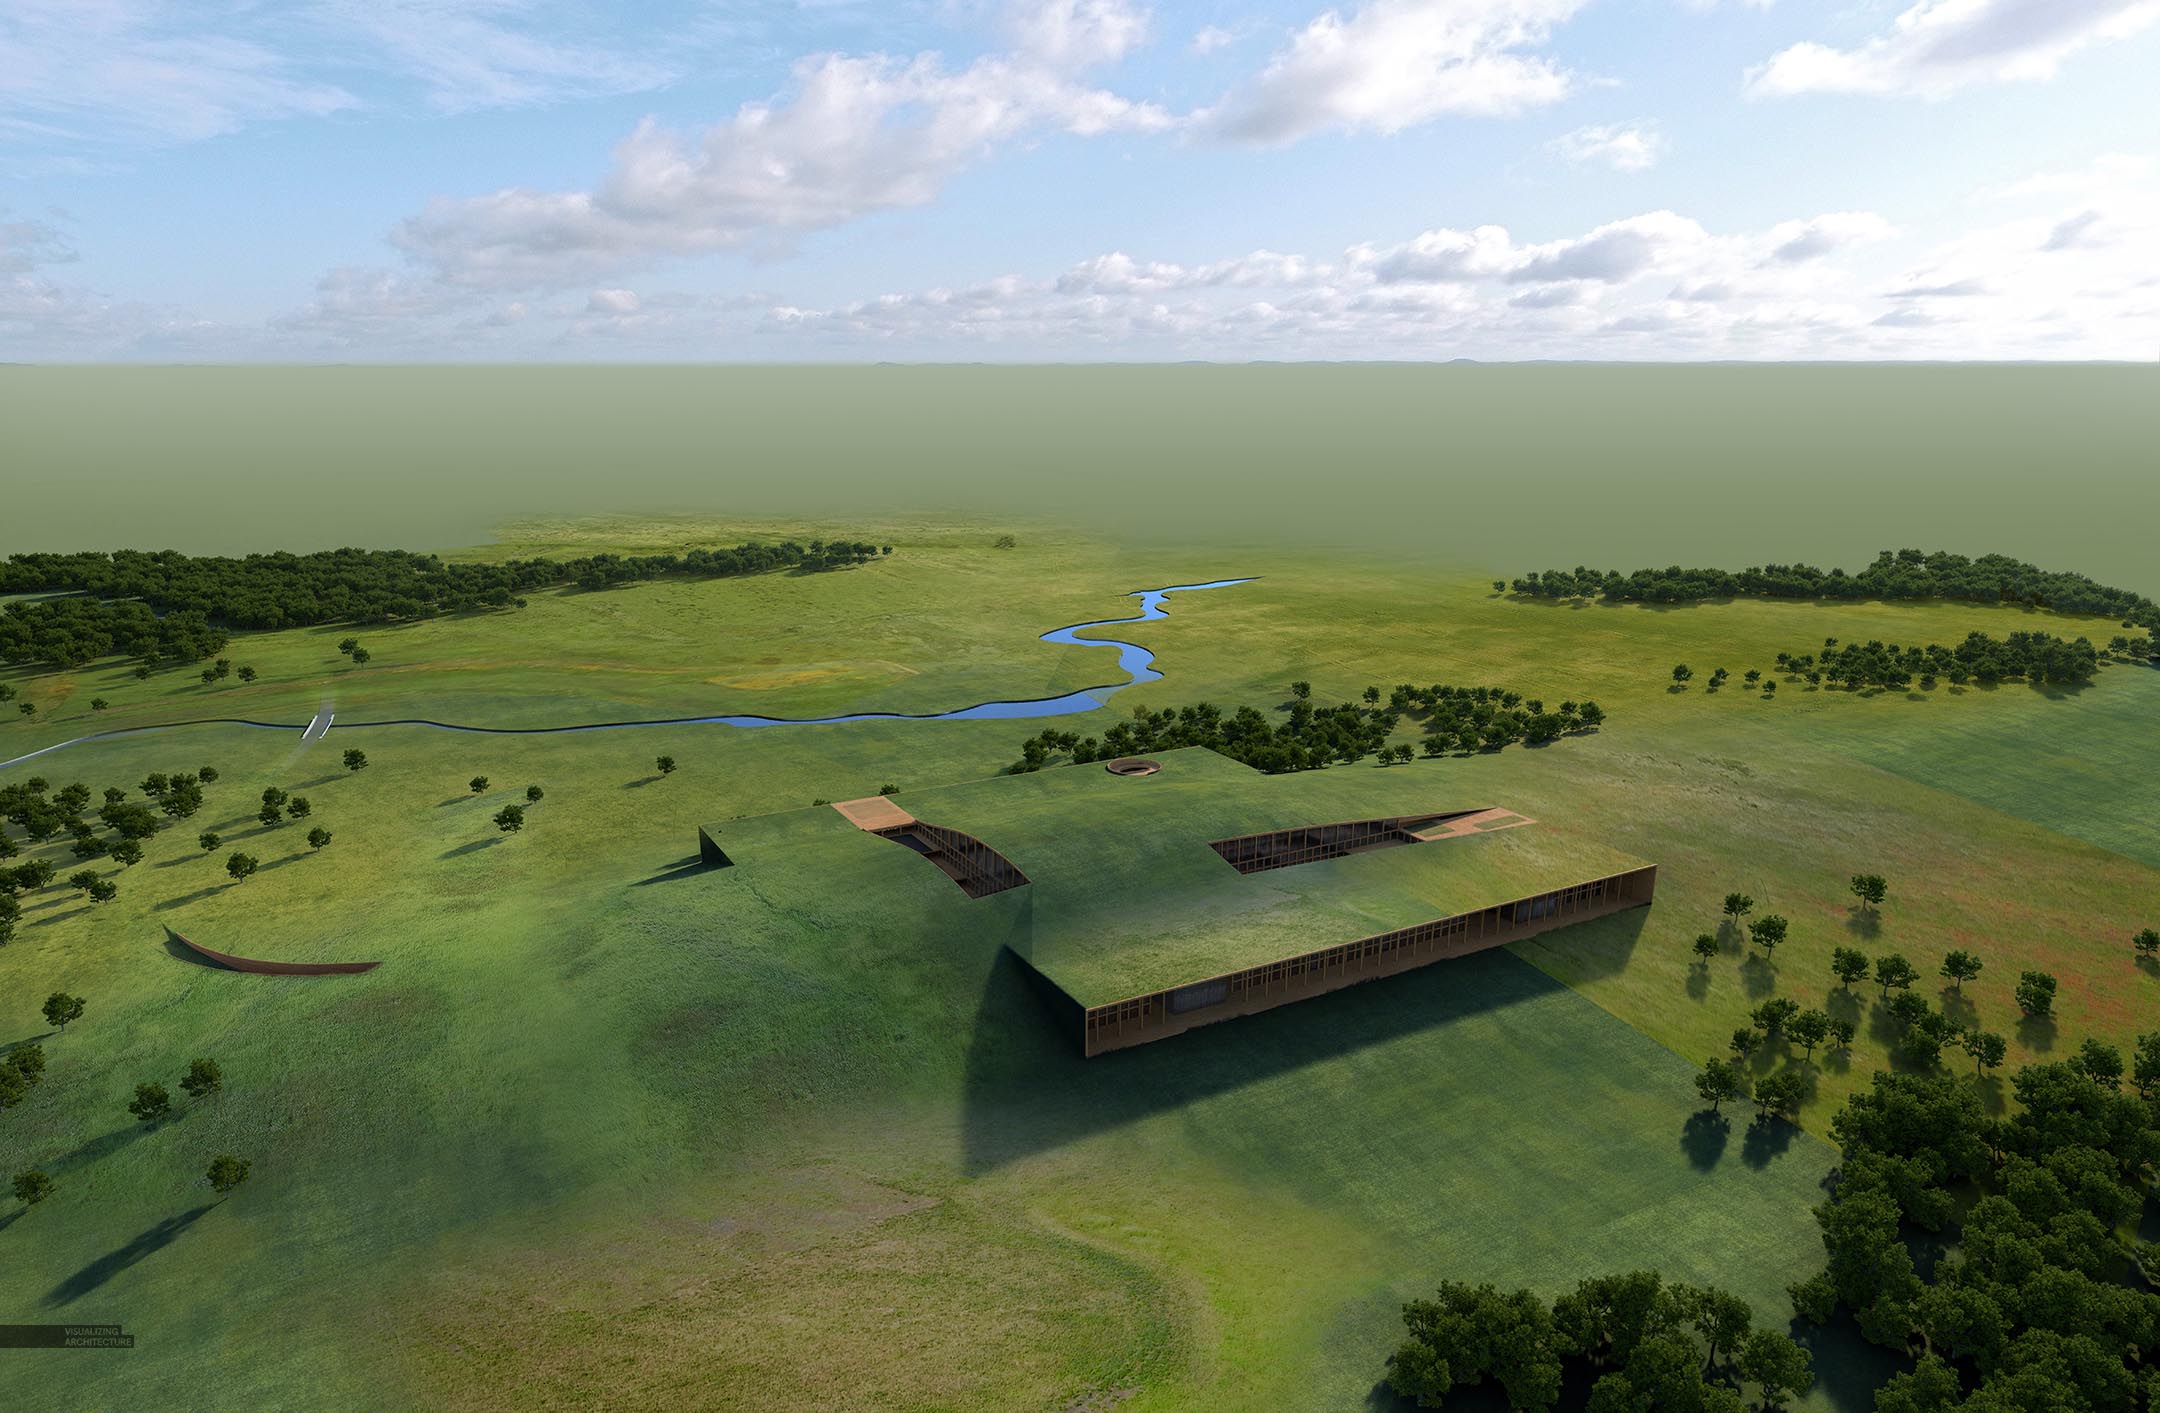
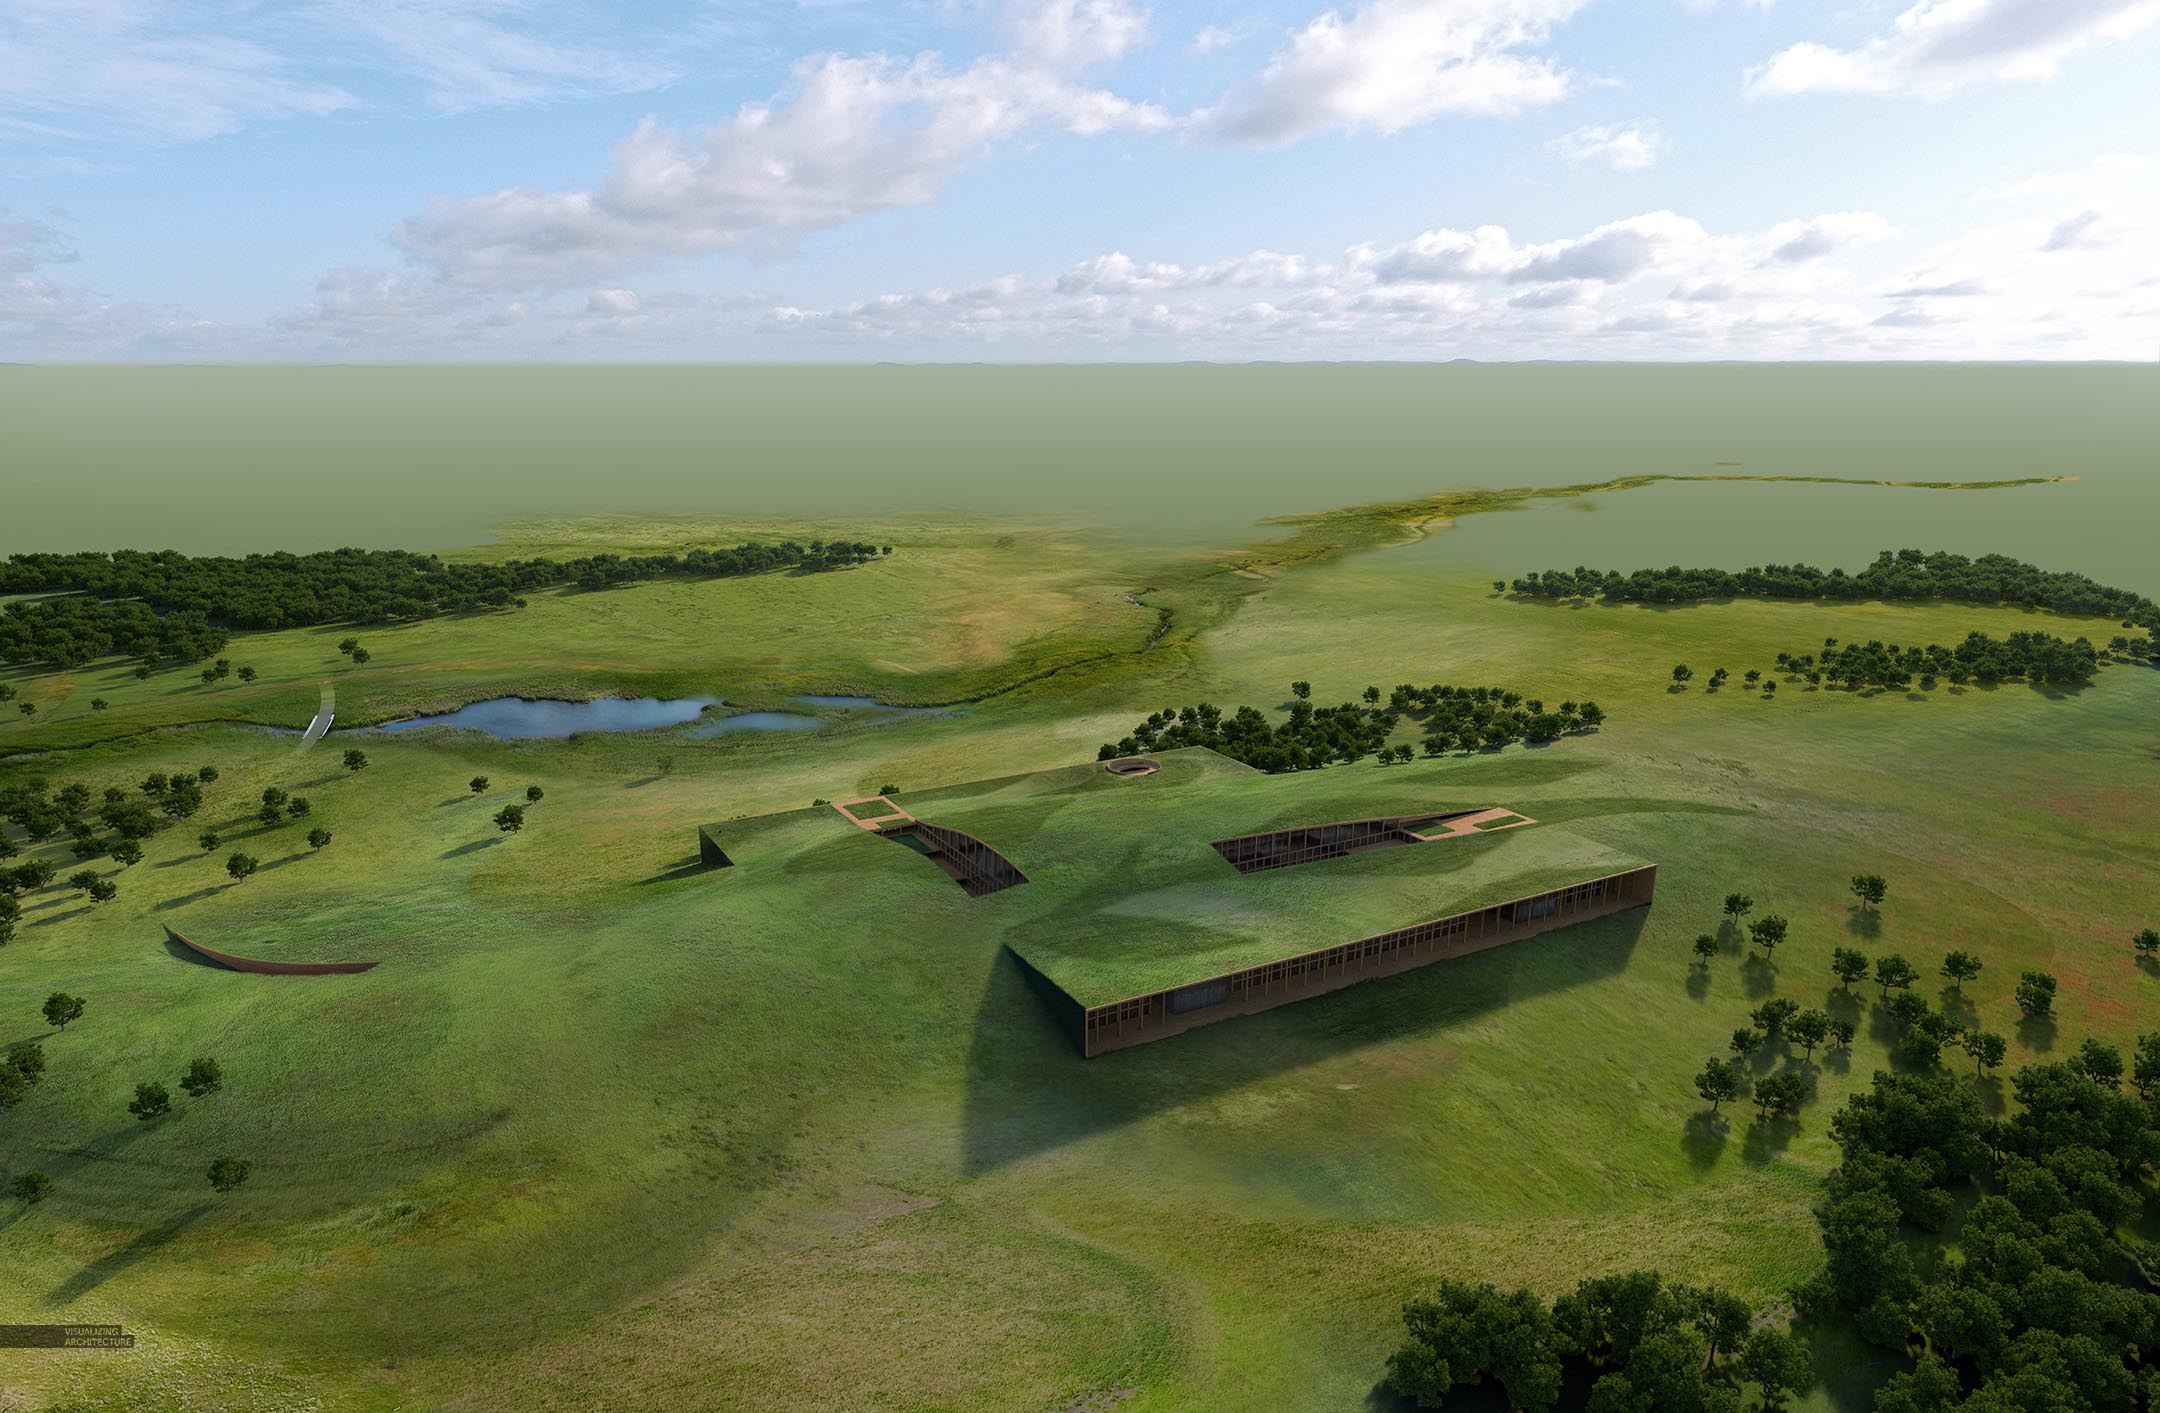
6. Final Image

I went back and forth on whether to go bright and cheery with this image or dark and moody. Ultimately, pushed it a little more in the dark and moody direction because I think it helped amp up the drama of the landscape.
This was one of the main images I had in mind when I first started designing this project. I kept putting it off because I knew it would be a beast to take on. The funning thing is that the final illustration is very different than what I had in my head going into this. Even with the clearest plans, I am always amazed how they evolve through the process
from
https://visualizingarchitecture.com/texas-prairie-aerial-grass/
No comments:
Post a Comment